
How do I secure a wedding veil in my hair?
Securing a wedding veil in your hair is an essential step in achieving your desired bridal look. The veil can add a touch of elegance and tradition to your ensemble, but it’s crucial to ensure it stays in place throughout your big day. Here’s a comprehensive guide on how to properly secure your wedding veil:
1. Choosing the Right Veil and Hair Style
The first step in securing your veil is selecting the right veil and hairstyle combination. Whether you’re opting for a classic updo, loose waves, or a half-up, half-down style, make sure your veil complements your chosen hairstyle. Some popular veil styles include:
- Blusher Veil: Covers the face and is typically worn over the bride's head during the ceremony.
- Birdcage Veil: A shorter veil that covers just the eyes or the entire face, usually made from netting.
- Cathedral Veil: A long, dramatic veil that extends beyond the train of the gown.
- Fingertip Veil: Reaches the bride’s fingertips when her arms are down.
2. Prepare Your Hair
To ensure your veil stays in place, start with a well-prepped hairstyle. Here are a few tips:
- Texture: Adding texture to your hair can help the veil grip better. Consider using a texturizing spray or a light mousse.
- Hairspray: Use hairspray to set your hairstyle and give it some hold.
- Bobby Pins: Have plenty of bobby pins on hand to secure the veil.
3. Use the Right Comb or Fastener
Most veils come with a comb or fastener attached. If your veil doesn’t come with one, you can sew a comb onto it or use hairpins to secure it. Here’s how to attach the veil using different types of combs:
- Metal Comb: This type of comb provides a strong grip and is ideal for securing heavier veils. Slide the comb into your hairstyle and anchor it with bobby pins for extra security.
- Hairpins: For veils without a comb, you can use hairpins to attach the veil directly to your hairstyle. Simply place the veil where you want it and use the pins to secure it in place.
4. Placement of the Veil
The placement of your veil depends on your hairstyle and the look you want to achieve. Here are a few common placements:
- Top of the Head: For a more traditional look, place the veil on top of your head, just behind your hairline.
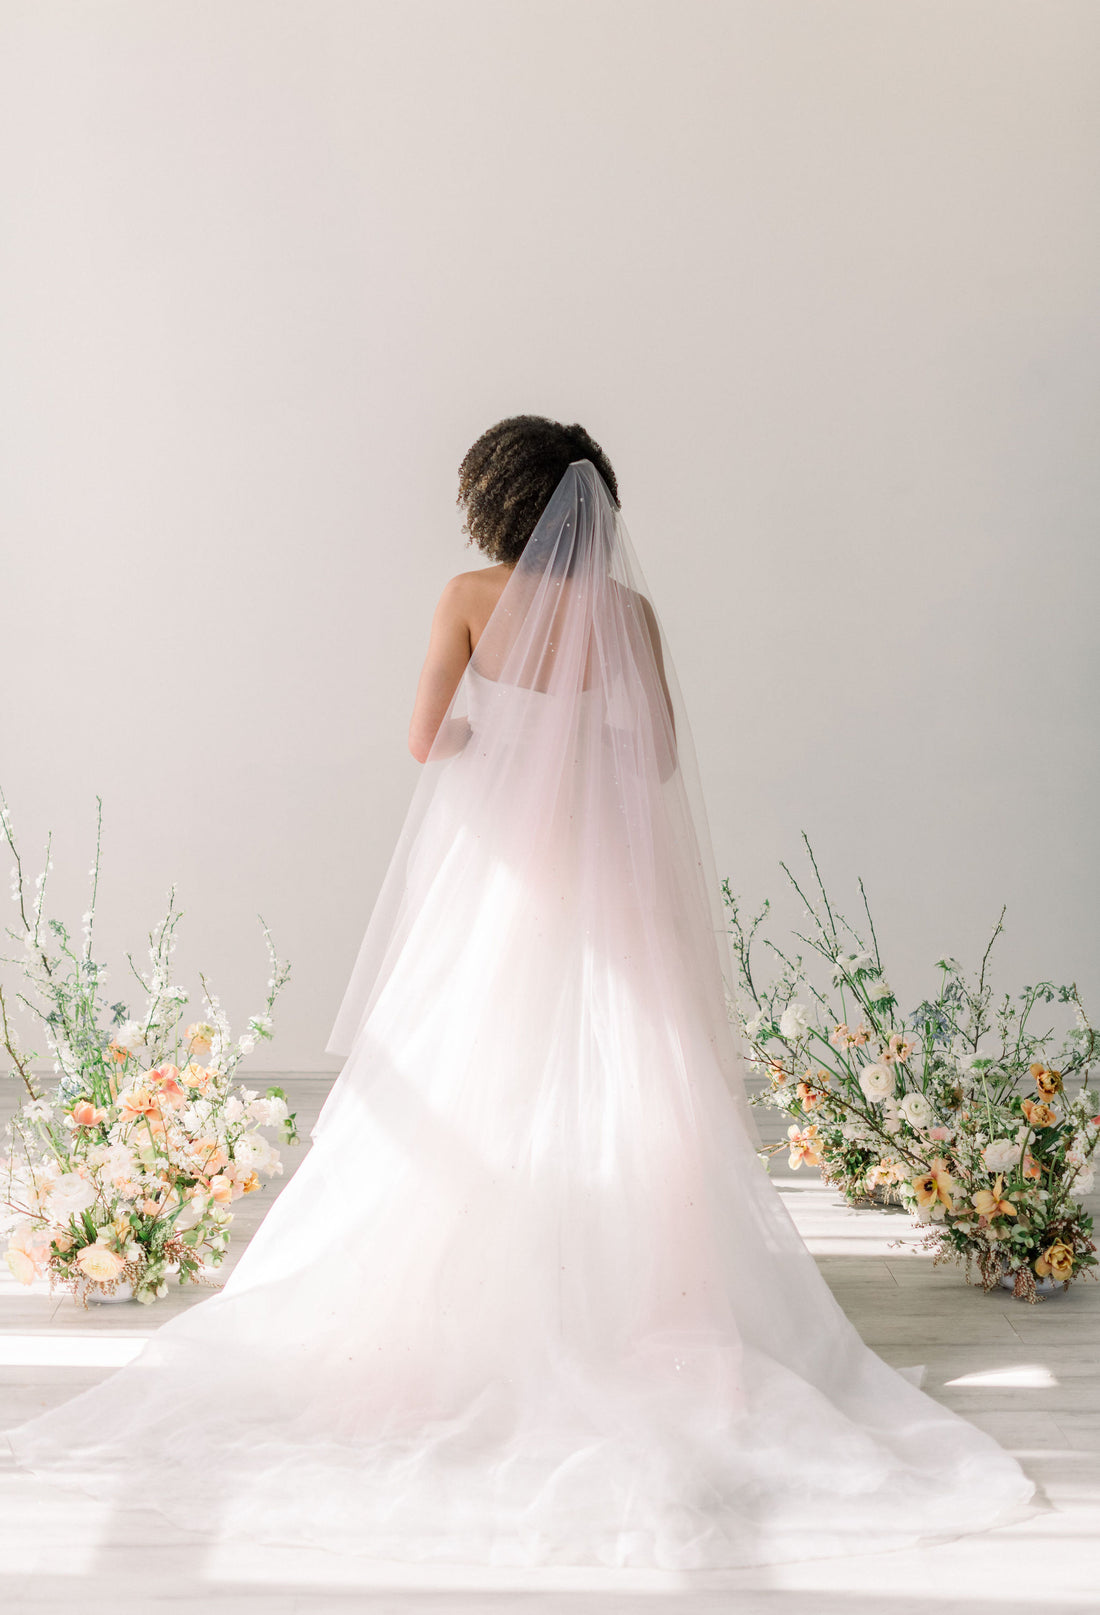
- Back of the Head: If you’re wearing an updo or a half-up hairstyle, placing the veil at the back of your head can highlight your hairstyle.
- Underneath the Updo: For a modern and sleek look, secure the veil underneath your updo.
5. Securing the Veil
Once you’ve chosen the placement, it’s time to secure the veil. Here’s a step-by-step guide:
- Insert the Comb: Slide the comb into your hairstyle at the desired location. If you’re using a veil without a comb, place the veil on your head and hold it in place with one hand.
- Anchor with Bobby Pins: Use bobby pins to anchor the comb or the veil to your hair. Insert the pins at different angles to ensure a secure hold.
- Adjust and Secure: Adjust the veil as needed to ensure it falls correctly. Use additional bobby pins if necessary to keep the veil in place.
6. Test for Security
After securing the veil, gently shake your head to test its hold. The veil should stay in place without shifting or falling out. If it feels loose, add more bobby pins or adjust the placement of the comb.
Final Tips
- Practice: Practice securing your veil before the wedding day to ensure you’re comfortable with the process.
- Hair Trials: Include your veil in your hair trials with your stylist to find the best placement and securing method.
- Emergency Kit: On your wedding day, have an emergency kit with extra bobby pins, hairspray, and a small comb for any last-minute adjustments.
Securing your wedding veil properly will give you the confidence to enjoy your special day without worrying about it shifting or falling out. If you need further assistance or have specific questions, feel free to contact us at Tessa Kim Bridal for personalized advice and support. Happy wedding planning!